Click here to see the final interactive version
A client has asked me to produce some interactive panoramas, something I’ve not done since the heady days of Quicktime VR in the nineties. I don’t think QTVR is even supported any more, so time to move on.
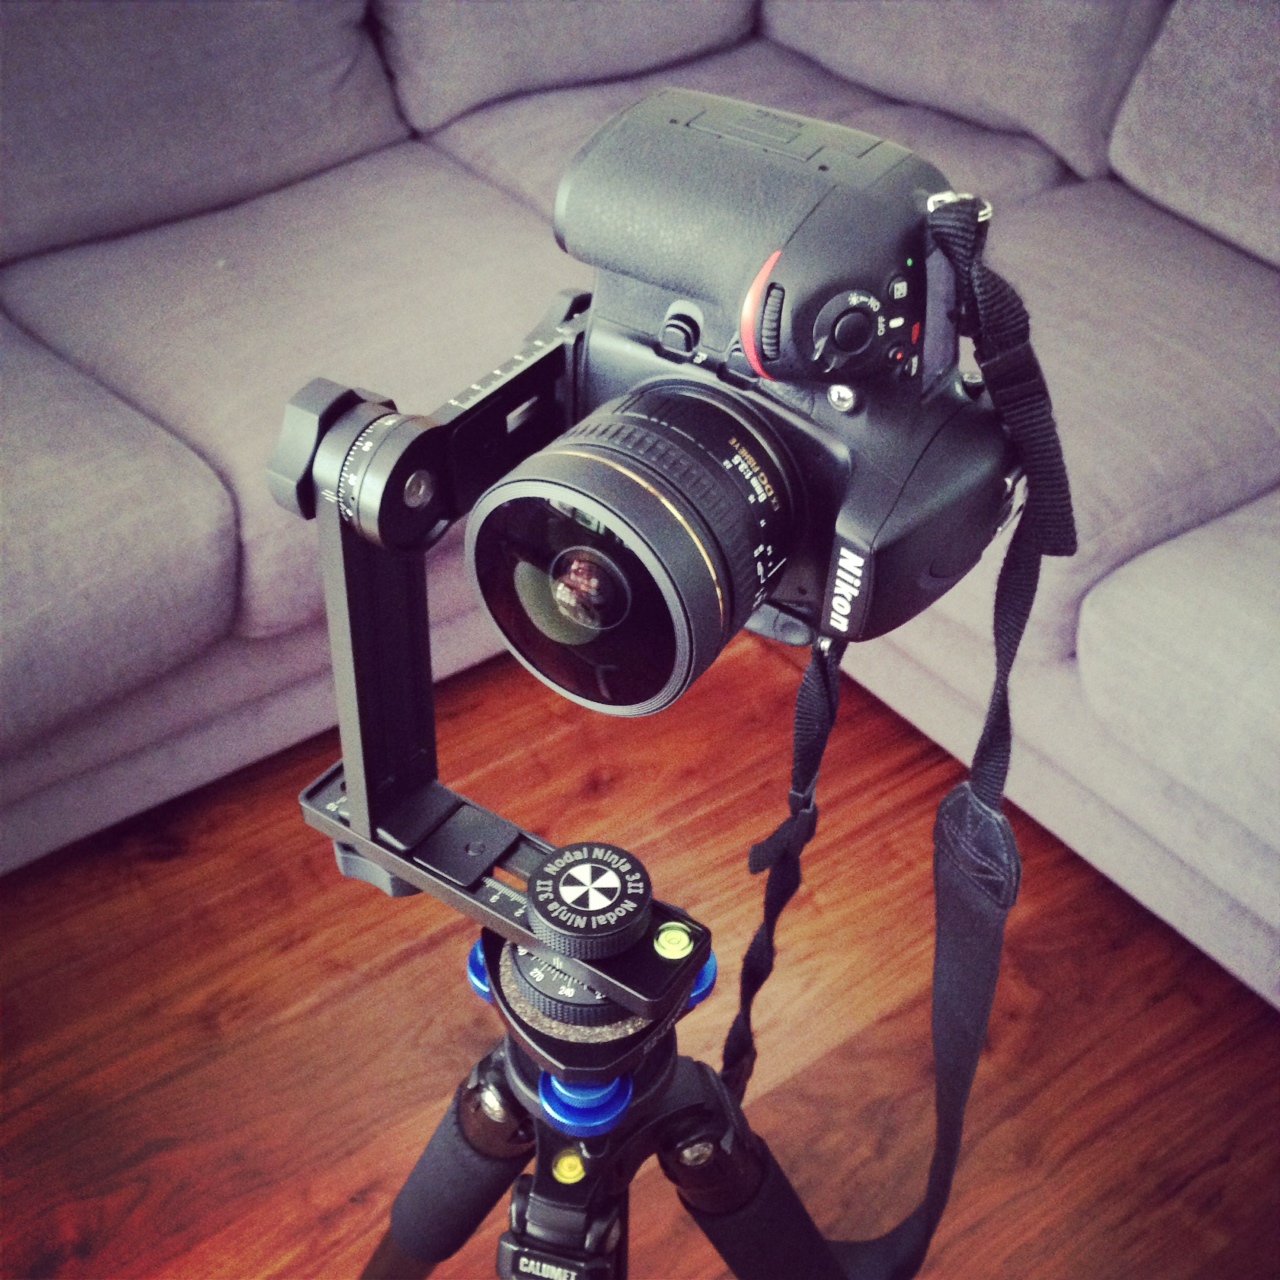
Nikon D800 mounted on Nodal Ninja 2
I did have a massive Manfrotto MH057A5 panoramic head but I think I lent it to someone. Anyway I couldn’t find it anywhere, so a quick search revealed the Nodal Ninja 3, which seems an ideal compromise between size and cost. Bought it from a very efficient outfit in Leeds called Red Door VR and it arrived the next morning.
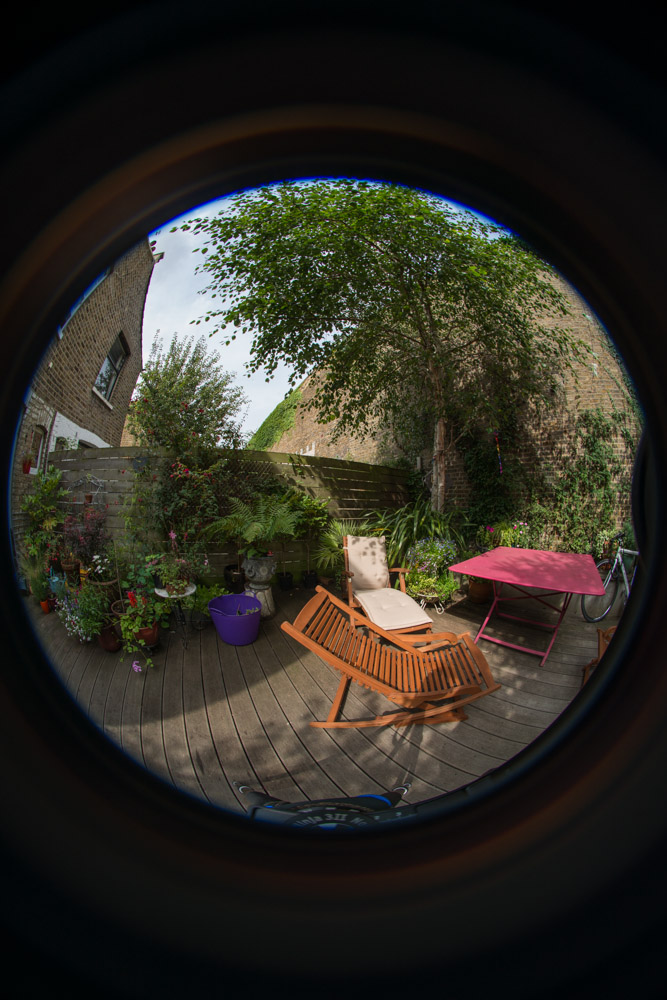
The image produced by the Sigma lens
It’s not a solid as the Manfrotto, but then again it will fit into a camera bag without breaking your back. It’s also great value, even with the optional and badly-named EZ Leveller which has three thumbscrews to get the whole setup level in a matter of seconds. They do make larger versions, but this is fine for the D800 (without that battery grip) and a small lens.
Also decided the best way to get panoramas done quickly and efficiently is to shoot the smallest number of shots to stitch together. I used to take upwards of 20 shots using a 14mm lens to create a panorama, and although PTGui can stitch them very efficiently you’re creating a lot of extra work. So I figured the best way to do this now is with a 180′ circular fisheye (camera set vertically, three shots 120′ apart and then one final image pointing straight up to capture the sky). Sigma’s 8mm f3.5 EX DG fits the bit perfectly, although it’s slightly long in the tooth now. I did honestly call around all the local camera shops but nobody had one, so it was Amazon to the rescue due to time constraints. I hate doing that…
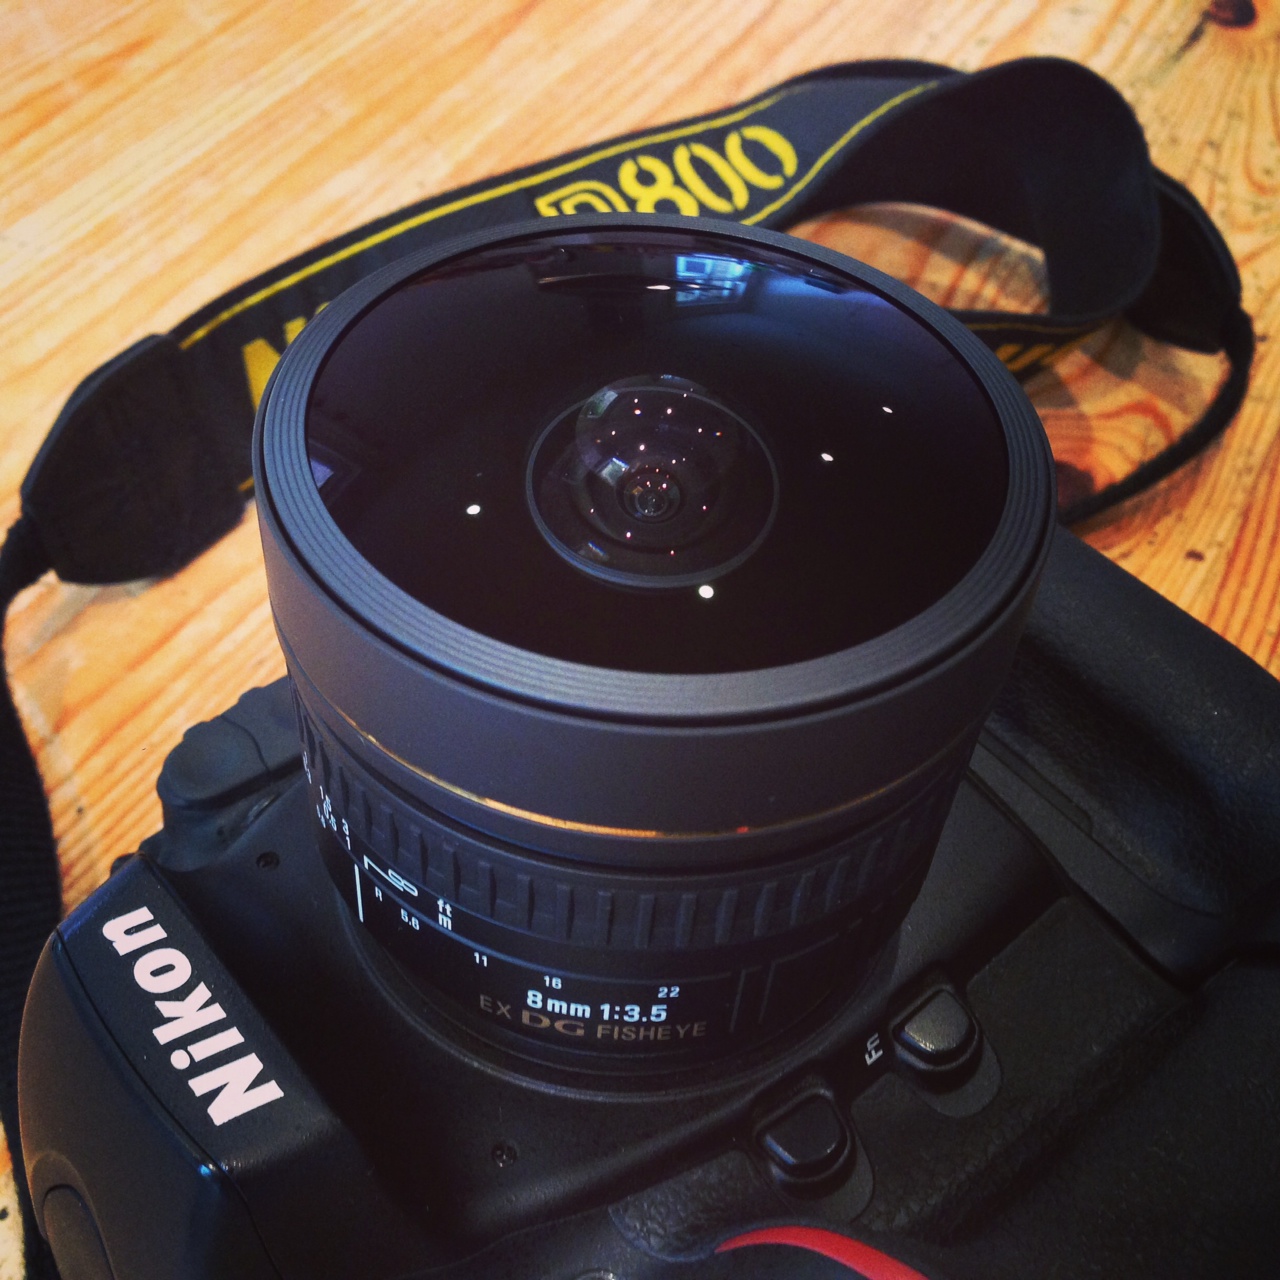
Sigma 8mm f3.5 EX DG circular fisheye lens
Another benefit of having a small number of shots to stitch is that you’re minimising the chance of stitching errors if there’s anything moving in the shot (people, cars etc). There are only 3 horizontal joins so you can realistically resort to Photoshop to sort this out if there’s an issue.
The last step was to upgrade PTGui to the latest version (I already owned it but hadn’t used it for a while). It’s a really effective bit of software with a slightly daunting interface, but it gives you massive amount of control when stitching images together. It even generates HTML5 or Flash files for viewing on the web. Good stuff. The final result is a weirdly squished file that shows your 360′ image. It’s like a Mercator projection global map and quite attractive in its own right!
I haven’t retouched this image in any way, which is why you can see the tripod legs at the bottom of the picture!
Of course this new efficient process opens up a whole new world in Cinema 4D, because I can now create my own image maps and project them onto 3D objects created in C4D. Another lifetime of learning!
All I have to do now is recoup the investment, but I think this might be a saleable proposition?
Click here to see the final interactive version…
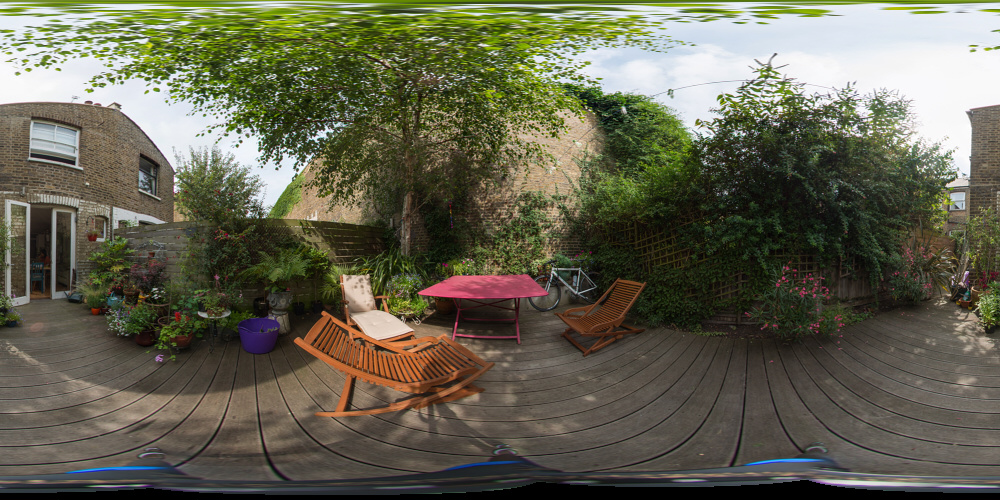
The final stitched panorama, created from four images in PTGui
Update: New panorama added!
Just to prove the theory I’ve just finished another test, this time in our living room. There’s nothing moving in the room (least of all Emily who’s been on the sofa all day) so I might make the next test more of a challenge and see how well I can stitch a more complex scene.
The image looks slightly soft because…it’s slightly soft. I manually focussed the lens but was quite a way off. You can’t see what’s going on through the viewfinder so I should have done autofocus set first, then switched to manual focus for the other exposures. Click here for the living room panorama, don’t forget to click and drag around the image to change the viewpoint!
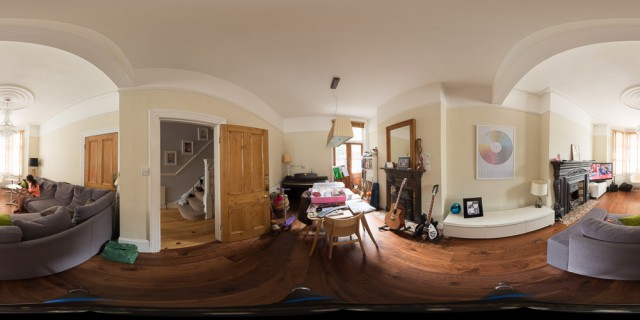
Test number 2 – our living room. Almost looks tidy…